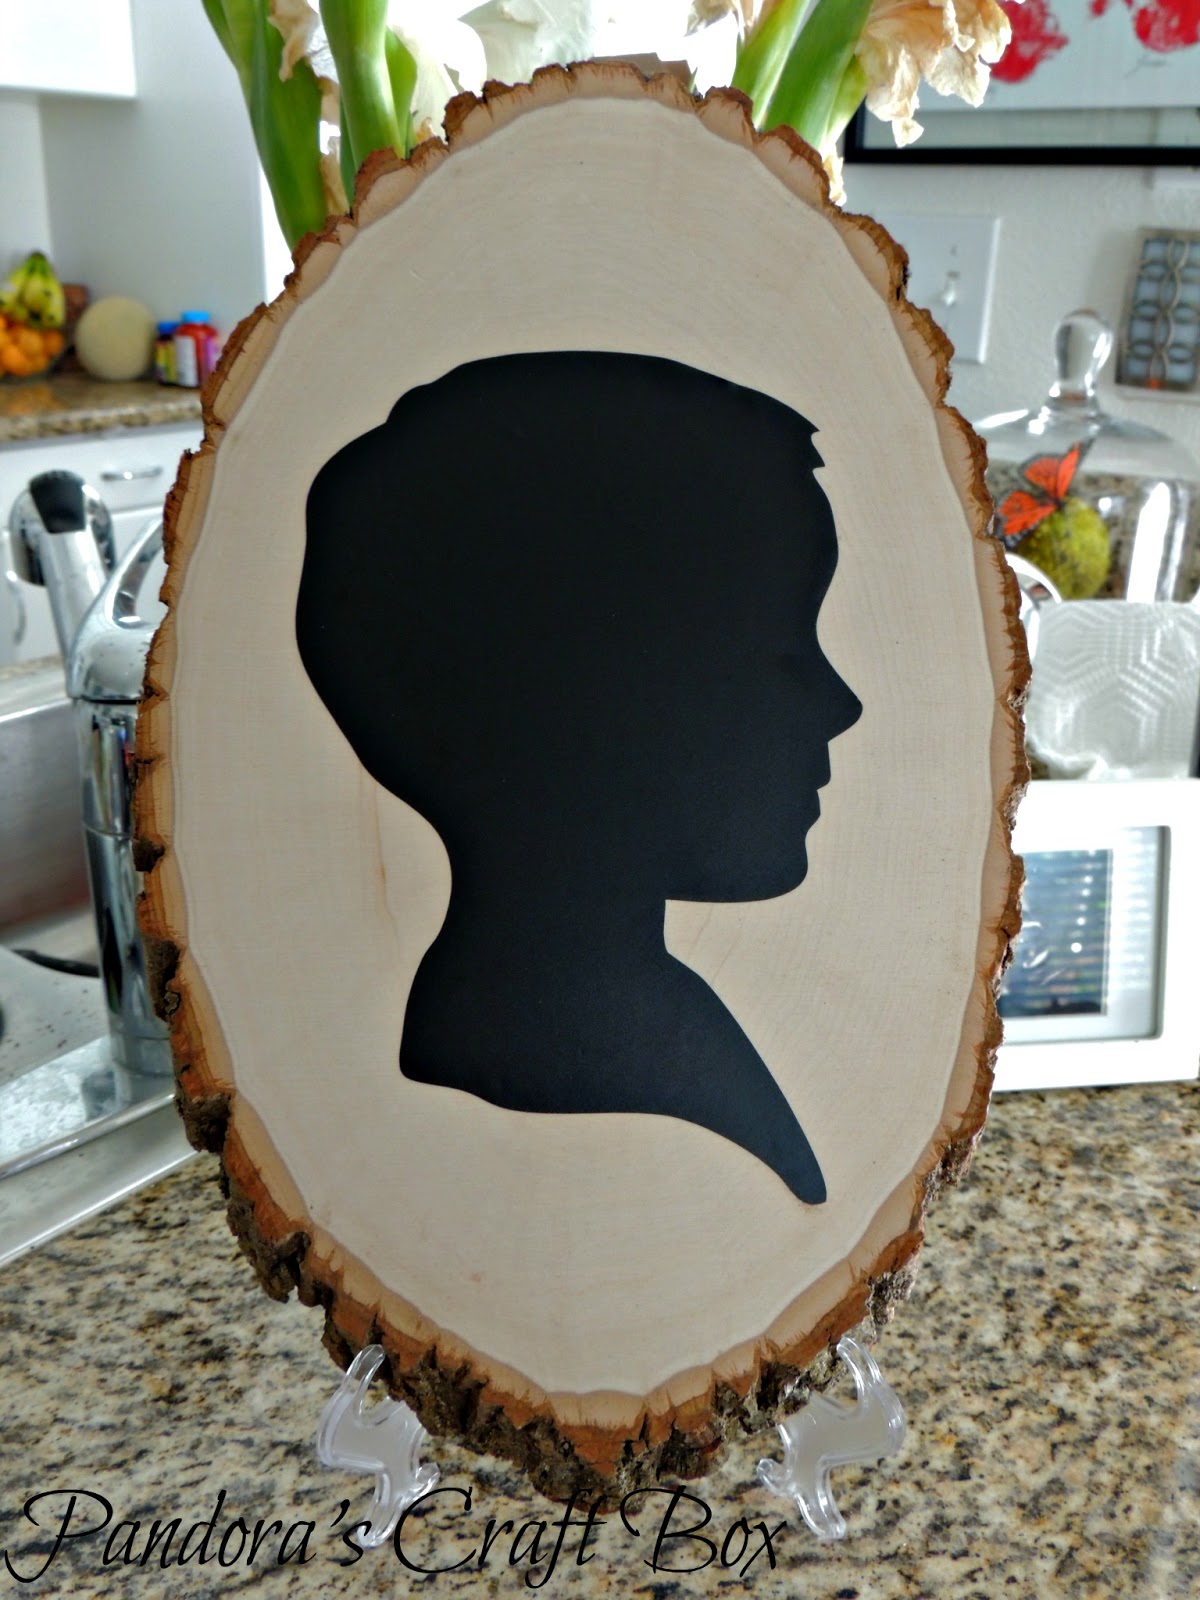
Tuesday, July 30, 2013

Wood Slice Chalkboard Silhouette

I've been wanting to use my vinyl chalkboard and my Cameo together for a while but I could not figure out what to do. Until now, I found this cute boy silhouette that looks like my little boy and now can use it with my wood slice. This is what I came up with...

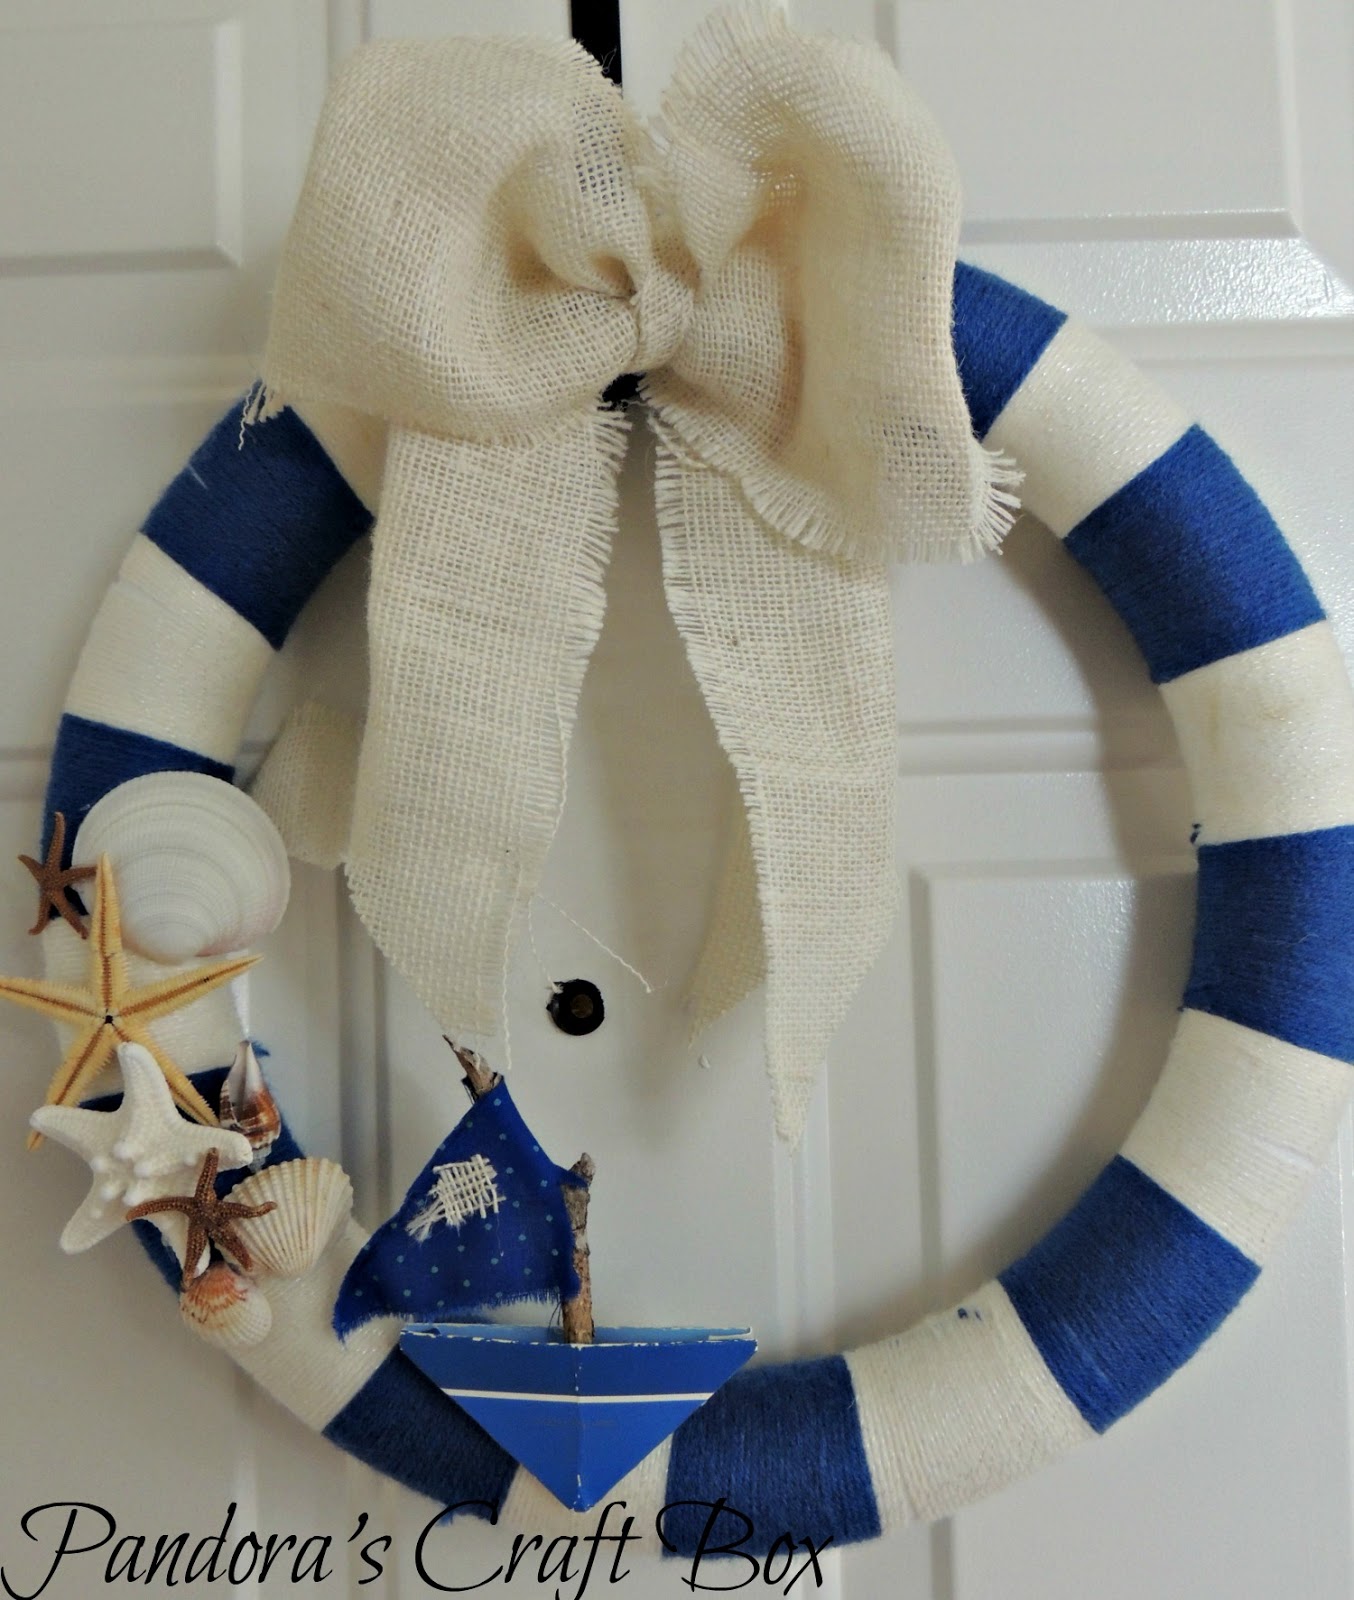
Monday, July 29, 2013

Yarn and Burlap Bow Nautical Wreath DIY

 
I think most of us have noticed that nautical is the theme for this summer decor for any home. Since being in California I got in the mood to decorate my home in a nautical theme and decided to started with a yarn and burlap bow nautical wreath.
 

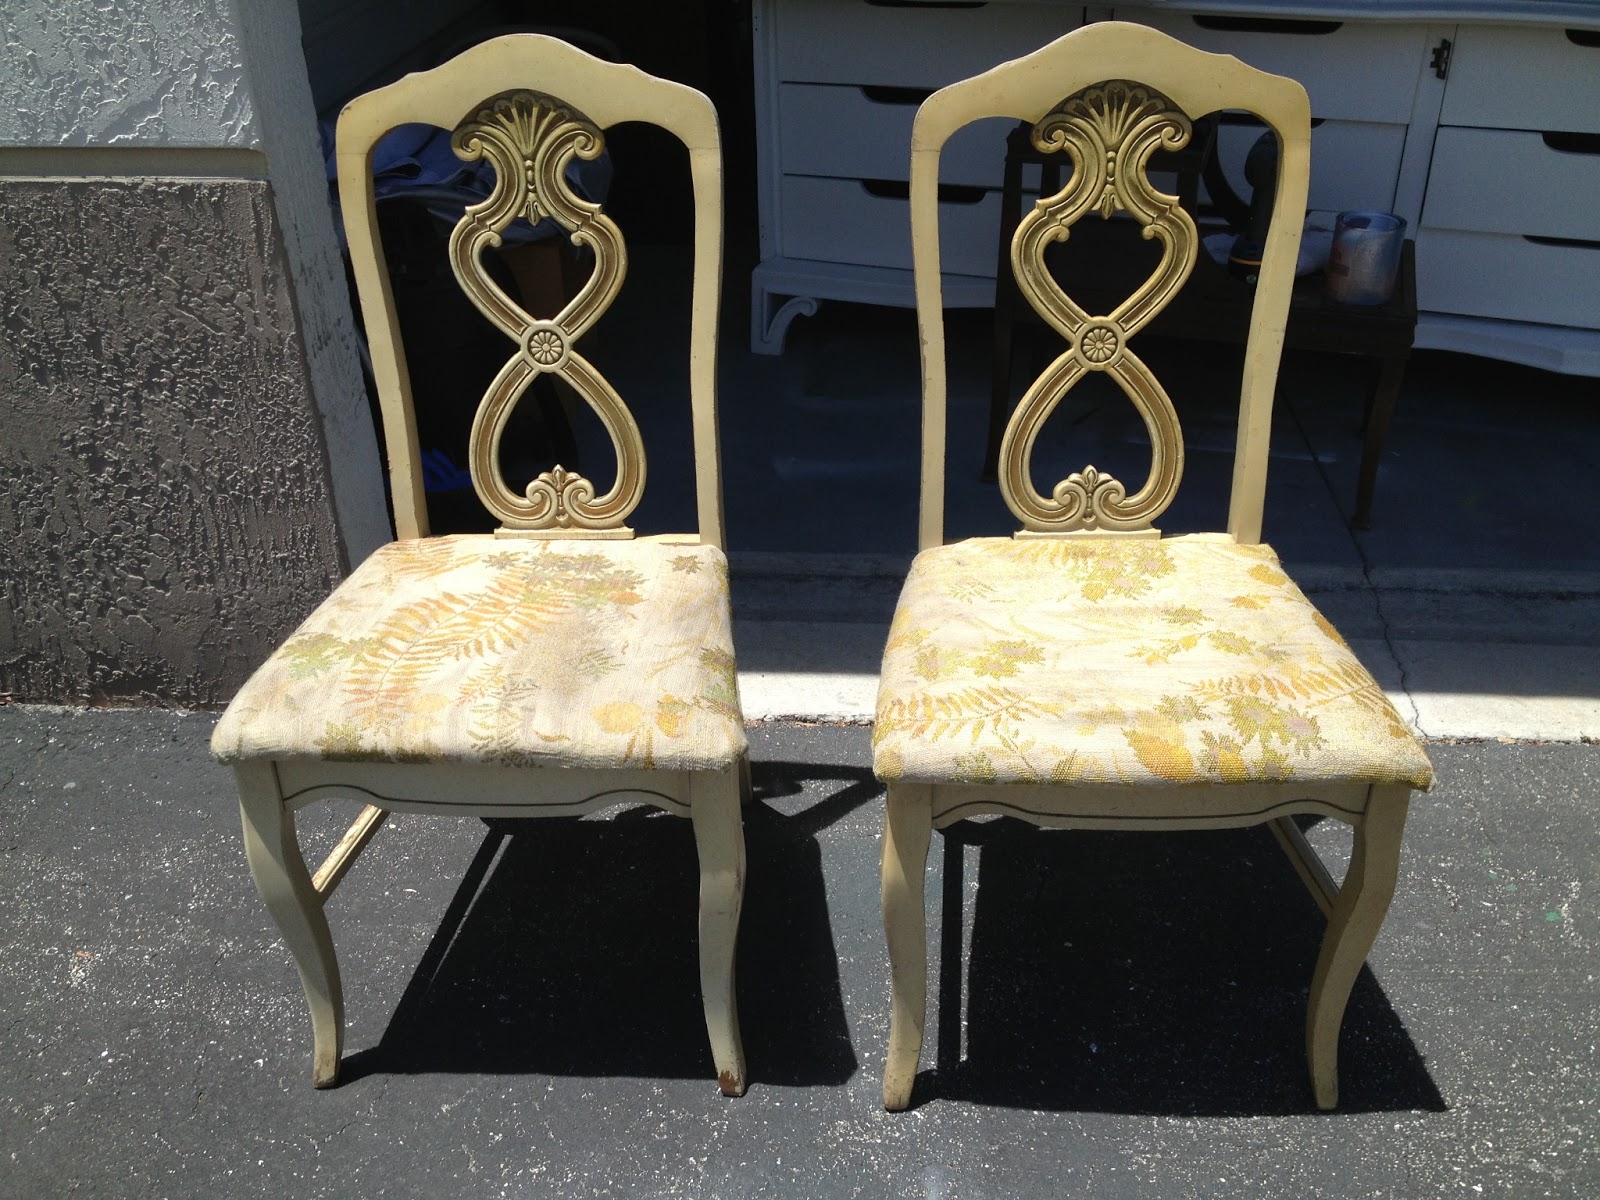
Thursday, July 25, 2013

Refurbished Vintage Chairs DIY


We have Nicole back with some wonderful chair painting. Today she is working with the popular color for the season. What do you think about gray and yellow?

I am having so much fun refurbishing these two chairs for a client. The designitgirl team is taking these chairs from drab to fab, with some primer and paint for a new lasting look for years to come..
The photos you will see below are before & during the after reveal will get posted soon, so stay tuned, follow me here and don't forget to come back for the REVEAL.

Before


Monday, July 22, 2013

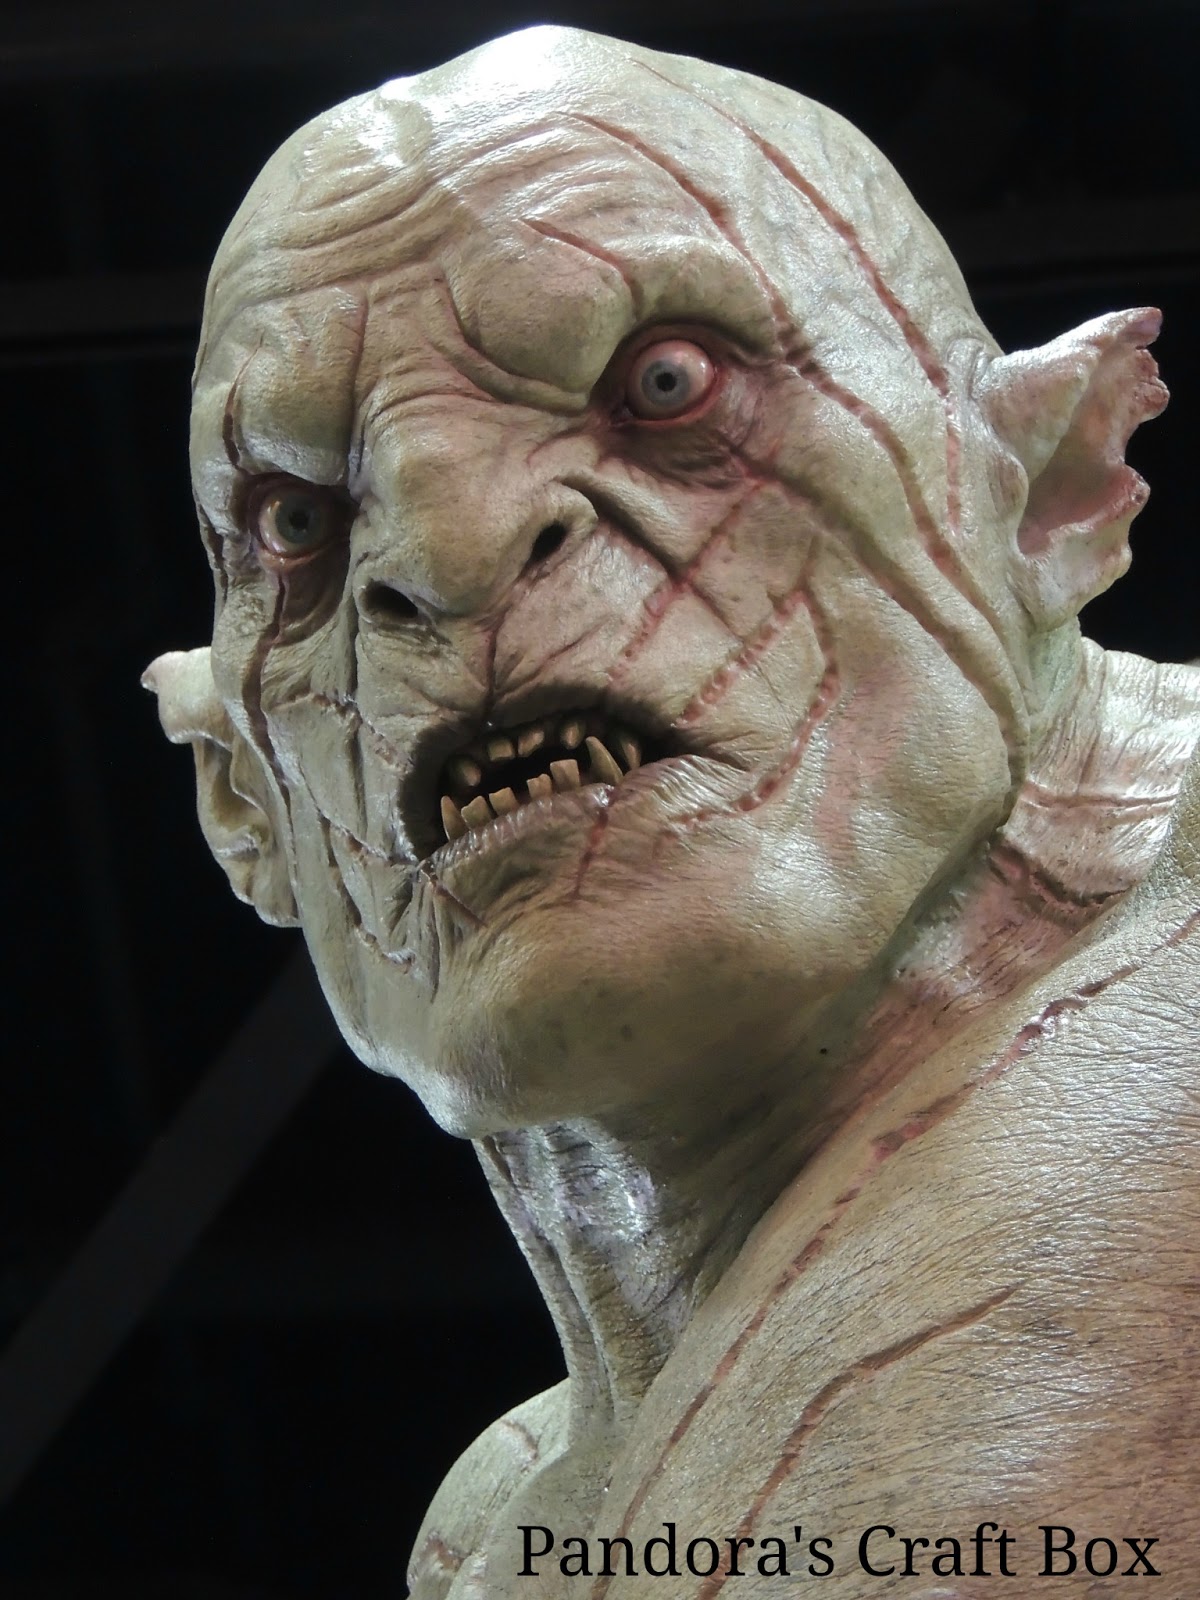
San Diego Comic Con 2013 Recap!!!

I was super excited to have gone to San Diego Comic Con 2013. It might have not been the best for me to go while I am pregnant but it was my first time attending and all day event. I got see all my favorite artist and some amazing cosplay costume. I had the best time just people watching. 
 
 
Guess what we found while at comic con this year? The hobbit booth! The statues are so realistic and can be really scary. 

Friday, July 19, 2013

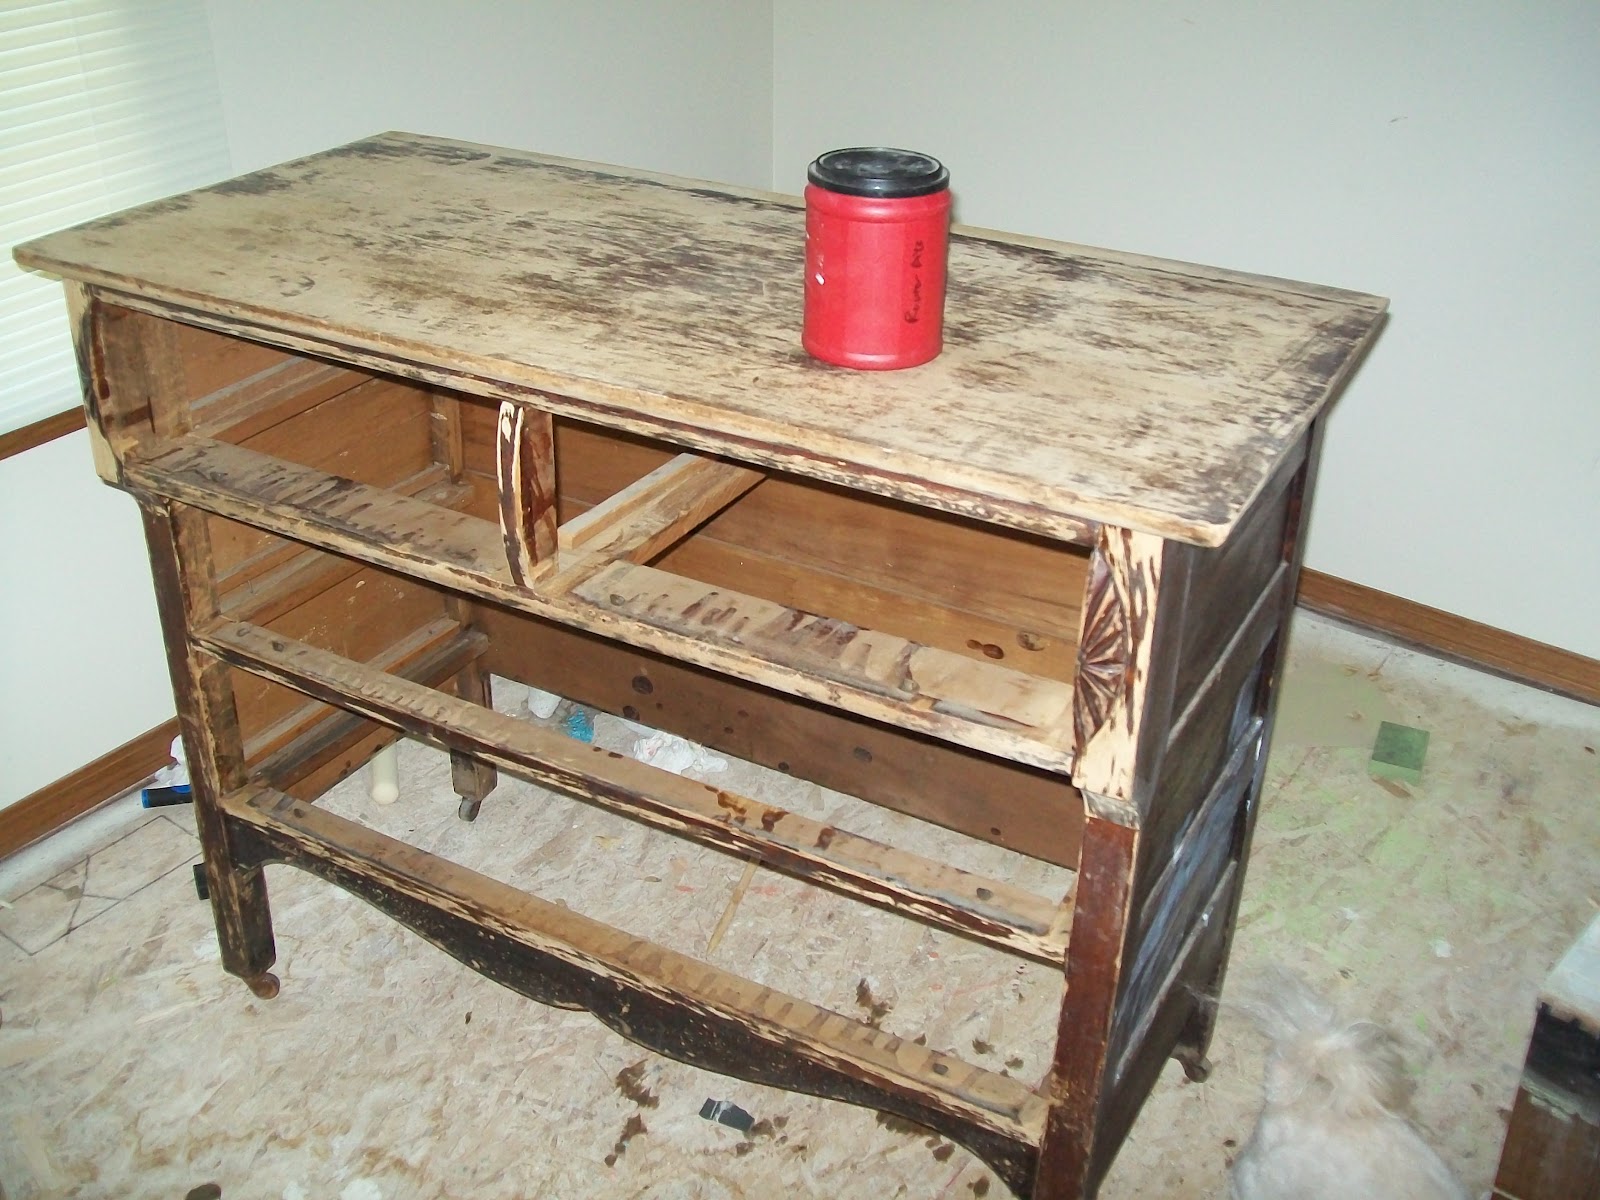
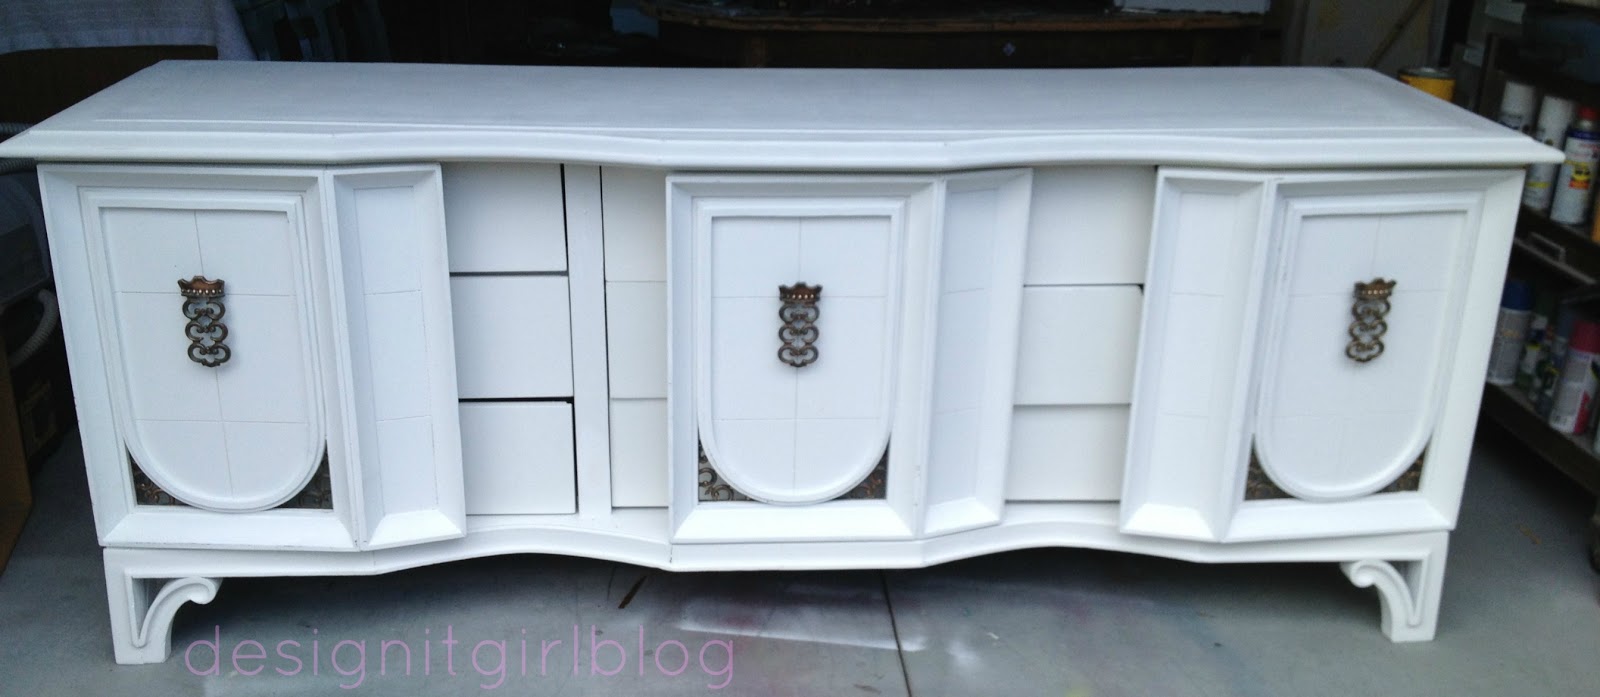
Restoration for a Dresser into a green beauty

I have guest post from Restoration Redoux! She has found this old worn out dresser and given it new life with just a fantastic paint job. I just fell in love with the color she chose! Take a look and then stop by Shanna blog for more fun DIY!
 
I really fell in love with this one. I got it off craigslist for $25! It’s from around 1910-1920.
Now it looked pretty horrible when we picked it up. It was also very heavy. But it has great lines. The top two drawers stick out further than the bottom two (intentionally). It had fantastic hardware on the bottom two drawers, but the knobs on top were missing. I found 4 different, really cool, vintage knobs that give it character.
I used Sherwin Williams paint in Paradise as the base for my chalk paint, distressed it, glazed it with brown glaze and waxed it.
It has been sitting in my dining room for a few weeks, I’m having a hard time parting with it. If I had a speck of green anywhere in my house this baby would be mine.

Thursday, July 11, 2013

Vintage Sideboard Redo DIY

                       Nicole out did herself with this new painting tutorial for a vintage sideboard redo. She is very talented with a paint brush. I wish she lived near me so I can have something like this in my home and trust me I am not a big fan of white especially since I do have pets and a child. However, Nicole has me rethinking white.


Wednesday, July 10, 2013

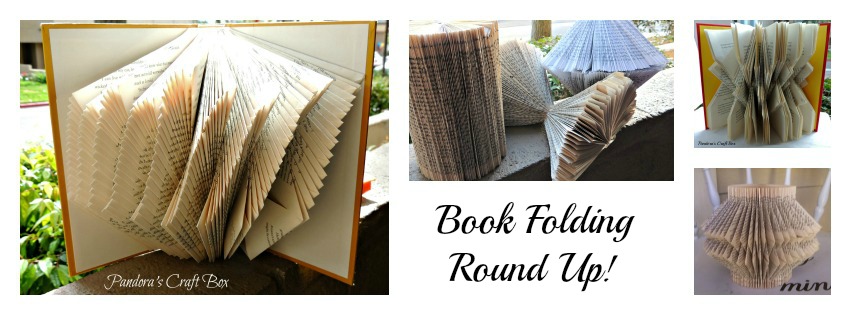
Book Page Folding Round Up!

Its Wednesday book folding day and I have a round up of all my book folding origami tutorials I have done in the past.  Now you can find them all in one place. Book folding is a wonderful creative way to display old book and keep your finger busy while watching t.v. You can even teach your kids to do one too!


Tuesday, July 9, 2013

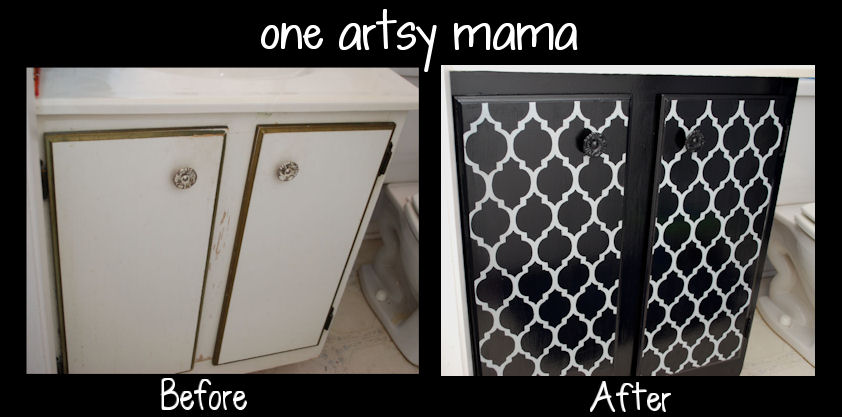
Vanity DIY painting and Stenciling by One Artsy Mama

One Artsy Mama tried her hand at her very first furniture DIY! We can all remember our very first DIY, right?!  The fear and excitement we felt about it. I remember my first DIY was my reupholstering chair and since I finished it I have not stopped. Let see the wonderful inspiration Amy has for us with a vanity painting and stencil design.

Guys, I am SO excited today!!!
I mean SERIOUSLY excited!
I'm about to share with you an extra super-special first ever in the history of One Artsy Mama kind of project!
Presenting...my first furniture redo!

Monday, July 8, 2013

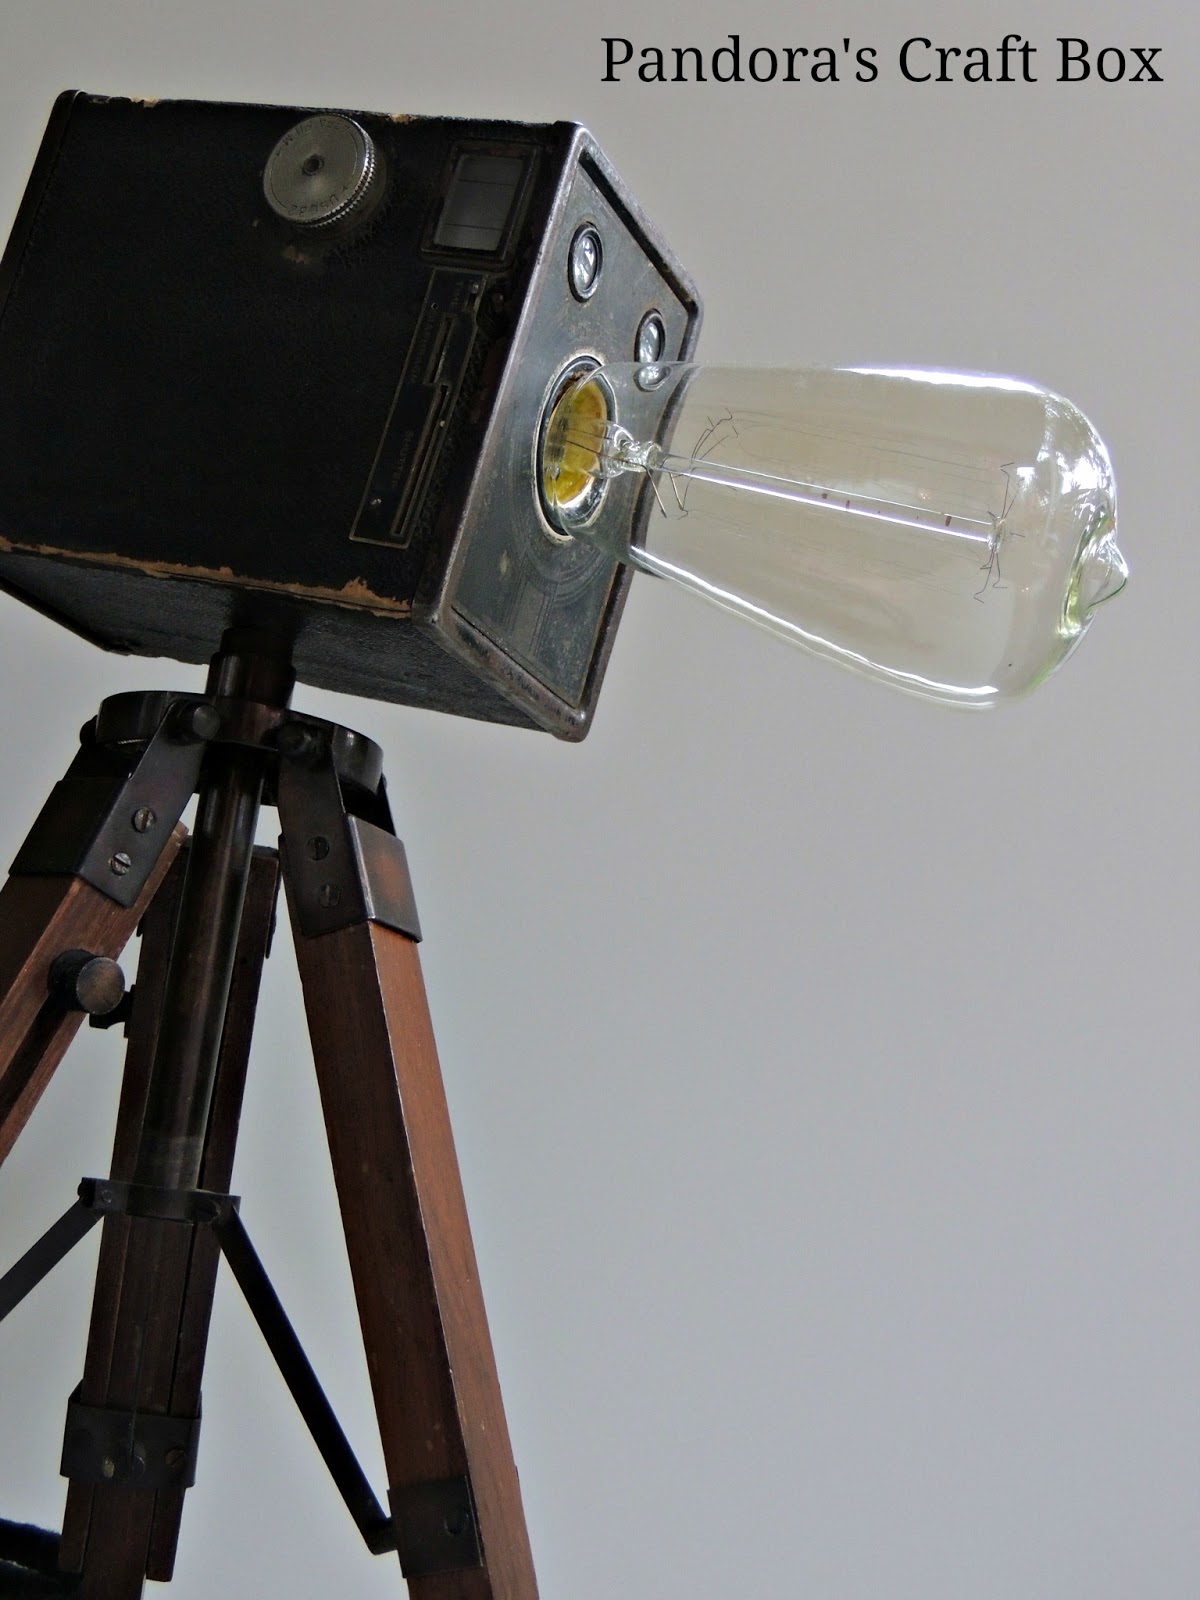
DIY Vintage Camera Tripod Lamp

Having a lamp in California is a must have. Most the apartments I have lived in here don't have lighting in the living room or the bedroom. I had purchase a couple of lamps but they always seem to break the first month I purchase them. Since I am moving yet again and I need new lamps, I decided to make my very own vintage camera tripod lamps to add a little bit of vintage flare to my home. 
 

Friday, July 5, 2013

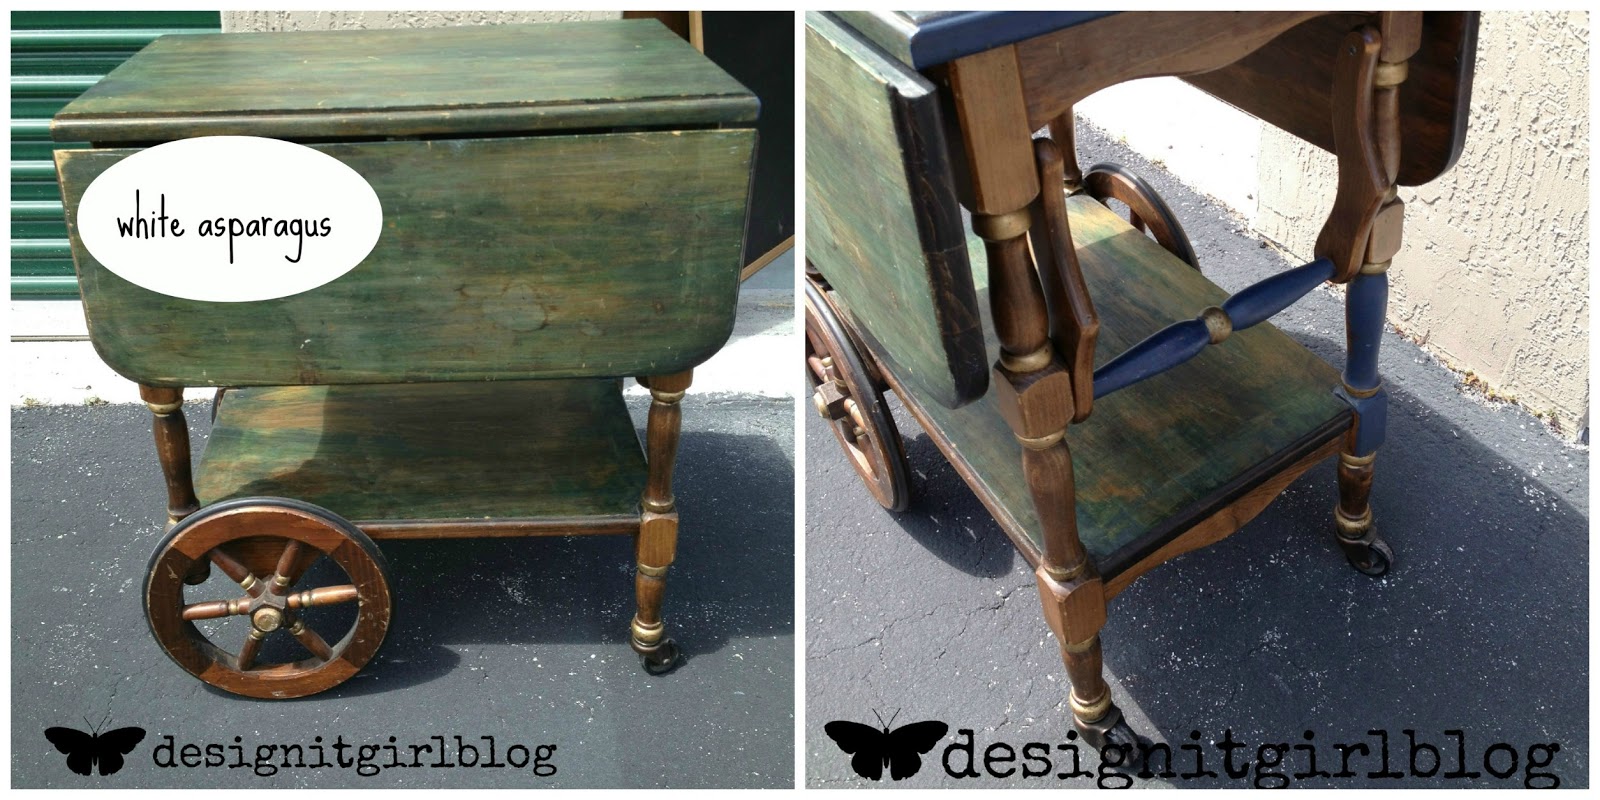
DIY Painting a Serving Cart

 Guess who is back with some awesome tutorials!  I have Nicole from Design it girl blog with a painting tutorial on a serving cart that can be use as an outside serving cart because it has wheels! So come and enjoy today's DIY tutorial.

serving cart, DIY painting rolling serving cart, serving cart with wheels, outside rolling cart

Tuesday, July 2, 2013

Mirror Makeover turned into a DIY Serving Tray

Today I have my wonderful friend Dinah from DIY Inspired with her serving tray DIY.  If you use your imagination you can take any trash to treasure in just a few steps! Come and take a look at what she did.

DIY Serving Tray: A Mirror Makeover

by Dinah Wulf
do-it-yourself-tray (2) (560x372)

Monday, July 1, 2013

Silhouette Promotion for July!!

Hi everyone, I have a very good treat for you guys today! Its all about the Silhouette Promotion.
 
 
By simply using the promo code "PANDORA" you can have this awesome deal on the Silhouette Portrait, Silhouette Cameo and the Silhouette Studio! 
 
Do you want to see what I did with my Silhouette Cameo and Silhouette Studio?
 
 
I will be moving again in two weeks and I have decided that I want to have a nautical theme living room. However, I have nothing nautical so I need to get crafty mostly because moving is really expensive. So the silhouette cameo came in handy to make this cute whale plate I hope to put up on my wall as decor. 

I have to say that this is the easiest tutorial ever! All you need is modge podge, paper, foam brush and of course your silhouette!


All I did was just put some mod podge on the back of the silhouette whales and applied it to the plate which I got for a $1 at the dollar store. Then I applied another coat of mod podge on top of the whales and you are done!

I could not be able to do this without having the Silhouette Studio Designer Edition. It has so many more features and for only $29.99 it the best deal you can get right now. If you use the code "PANDORA."


Happy Crafting!!


Loren